


Car Customization Checklist: Plan, Budget, Build Right
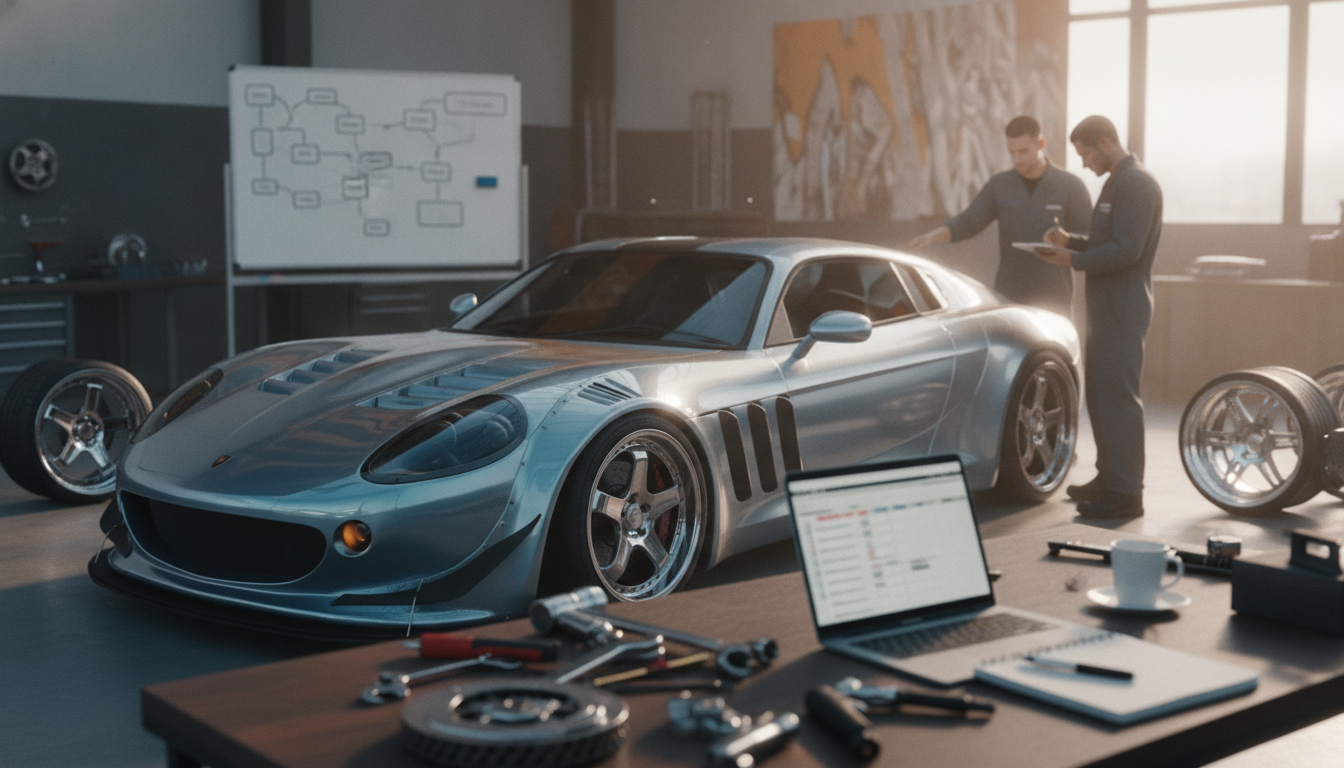
Car Customization Cheatlist: A Step-by-Step Checklist From Planning to Finish
Car customization goes smoother when decisions happen in the right order: set a goal, confirm what’s legal where you drive, build a real budget, choose parts that actually fit together, then install in planned phases. The checklist below is designed to help prevent the common headaches—mismatched parts, unexpected rubbing, blown budgets, annoying warning lights, or failing an inspection after you’ve already spent the money.
Start With a Clear Customization Goal
Before buying anything, lock in one primary purpose so every choice supports it. A daily driver build looks different than a track-focused setup, even if both “look cool.”
- Pick a primary purpose: daily comfort, visual style, handling, sound, off-road capability, or track use.
- Write a “must-have” list (up to 3 items) and a “nice-to-have” list to avoid burning the budget early.
- Choose an overall theme (OEM+, minimalist, aggressive, retro, VIP, rally-inspired) to keep decisions consistent.
- Set boundaries: road-legal only, reversible mods only, warranty-friendly, or “show car” freedom.
Know the Rules Before Buying Parts
Legal requirements vary by state and sometimes by county or city. A quick check now can save you from buying parts twice—or returning them after an inspection fail. The SEMA Action Network is a practical place to start for state-by-state guidance.
- Check local limits for window tint, headlight colors, underglow lighting, exhaust noise, and plate visibility.
- Confirm emissions and inspection rules for intake, exhaust, catalytic converters, engine tunes, and check-engine lights. The U.S. EPA provides emissions compliance context.
- Verify wheel/tire fitment rules (tire poke, fender coverage) and ride height requirements if lowering or lifting.
- Keep receipts, part numbers, and compliance markings when required (helps with inspections and resale).
Quick legality & inspection check
| Item | What to confirm | Common pitfall |
|---|---|---|
| Window tint | Visible light transmission limits and front window rules | Buying darkest tint first and failing inspection |
| Exhaust changes | Noise rules and emissions equipment requirements | Removing or altering catalytic converters |
| Lighting | Allowed colors and brightness for road use | Using non-compliant headlight bulbs/housings |
| Suspension height | Minimum clearance and headlight aim requirements | Lowering without alignment and proper headlight adjustment |
Build a Budget That Includes the Hidden Costs
Parts are only part of the cost. Many builds derail because the “small stuff” isn’t planned—hardware, alignment, tuning, or the tools needed to do it safely.
- Split budget into: parts, tools, installation labor, alignment, tuning, and maintenance.
- Add a buffer (10–25%) for fitment surprises, extra hardware, or replacement clips/fasteners.
- Plan “phase spending”: safety/maintenance first, then performance/handling, then aesthetic upgrades.
- Account for insurance changes for major modifications; document high-value add-ons.
Baseline the Car Before Modifying
Customization doesn’t fix worn-out basics. A great-looking build still feels “off” if the tires are old, the brakes are tired, or the suspension bushings are cracked.
- Catch up on maintenance: tires, brakes, fluids, filters, battery health, and any warning lights.
- Inspect wear items that impact mods: control arm bushings, wheel bearings, shocks/struts, engine mounts.
- Take “before” photos and notes (ride height, tire size, current alignment feel, cabin noise).
- Set a baseline driving impression: braking, steering, acceleration, and any vibrations at speed.
For tire safety fundamentals and reading tire information, the NHTSA tire resources are a solid reference.
Choose Mod Categories in the Right Order
Order matters because one mod often forces the next. The goal is to avoid rework—like buying wheels twice because suspension choices changed, or adding power before you have traction and braking to match.
Planning matrix for common customization paths
| Goal | Best first upgrades | Upgrade to delay | Why |
|---|---|---|---|
| Better handling | Quality tires, alignment, sway bars | Big power mods | Extra power doesn’t help if grip and balance are weak |
| Better sound | Cat-back (legal), resonator choices | Aggressive tint/lighting | Keep the car inspection-friendly while dialing in tone |
| Show-ready look | Paint correction, wrap plan, wheel fitment | Cheap stick-on trims | Foundational finish work sets the final result |
| Daily comfort | Noise reduction, lighting clarity, seat/ergonomics | Ultra-stiff suspension | Comfort mods can be undone; harsh suspension is a regret risk |
Compatibility Checklist Before Checkout
Installation: DIY vs Shop and a Clean Workflow
Finish Strong: Documentation, Maintenance, and Resale
Printable/Digital Checklist for Stress-Free Customization
If you want one place to track goals, legality checks, fitment notes, receipts, and post-install tasks, a dedicated checklist keeps the project moving without guesswork. For a ready-to-use option, see Car Customization Cheatlist – Easy Step-by-Step Checklist (Digital Download Guide).
For general organization (budgeting, habits, and keeping a consistent routine while working through a multi-week build), some shoppers also like a simple daily structure tool such as Morning Routine Checklist for a Positive Mindset. If mobility work is part of your driving comfort plan—especially with bucket seats or long commutes—Mastering Mobility & Flexibility for Peak Performance can complement a comfort-focused approach.
FAQ
What should be customized first on a car?
Start with safety and control: tires, brakes, and a quality alignment. The best “first mod” still depends on your goal (comfort vs handling vs style) and what’s legal where you drive.
How can a car be customized on a budget?
Plan upgrades in phases, prioritize high-impact basics (tires, brake refresh, detailing), and add a 10–25% buffer for hidden costs. Buying compatible parts once is usually cheaper than chasing deals that don’t fit together.
Do car modifications affect insurance or inspections?
Yes—certain modifications can change inspection outcomes and may affect coverage or claims, especially performance and lighting/exhaust changes. Keep receipts and part numbers, and contact your insurer when modifications materially increase value or risk.















Leave a comment